Easy Buster Bar Ice Cream Dessert Recipe
Buster Bar Ice Cream Dessert is the ultimate treat for anyone craving that nostalgic, perfectly balanced combination of chocolate, ice cream, and a delightful crunch. Remember those glorious days of summer afternoons and the pure joy of unwrapping a classic Buster Bar? Well, get ready to recreate that magic right in your own kitchen! This isn’t just any dessert; it’s a symphony of textures and flavors that has captured hearts for generations. What makes the Buster Bar Ice Cream Dessert so incredibly special? It’s the harmonious interplay of rich, velvety chocolate coating, creamy vanilla ice cream, and that signature crunchy, peanut-studded center. We’re talking about a dessert that’s both simple in its concept and profoundly satisfying in its execution, making it a guaranteed crowd-pleaser for birthdays, potlucks, or just those Tuesdays that feel like a weekend.
Get ready to fall in love with this Buster Bar Ice Cream Dessert all over again.
We’re diving into a recipe that will transport you back to your happiest sweet memories.
Buster Bar Ice Cream Dessert
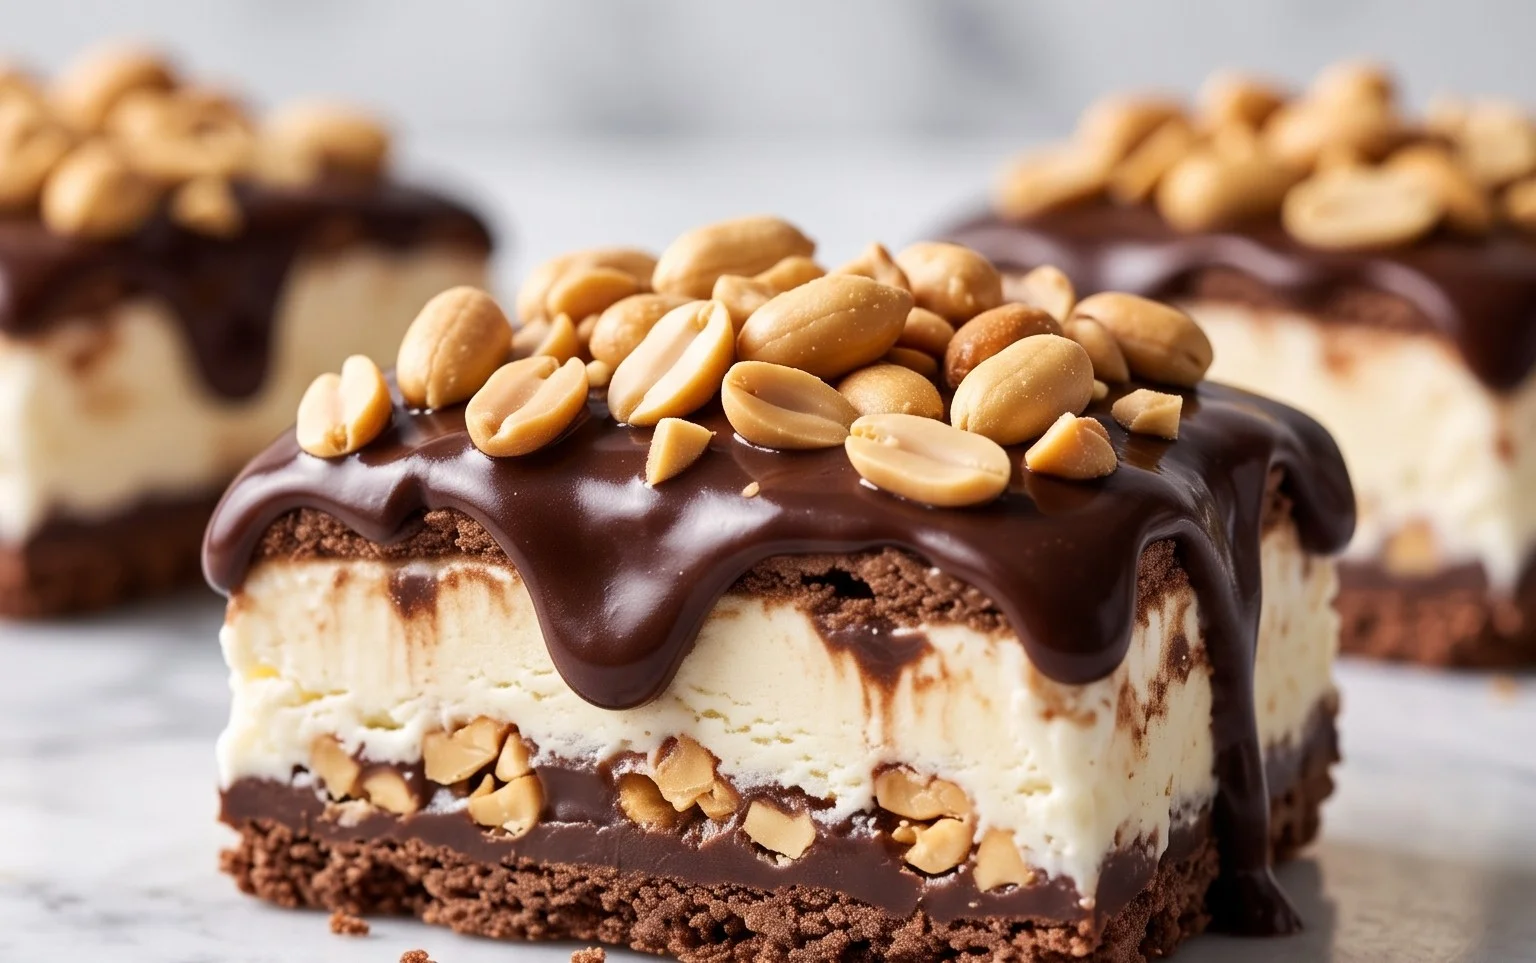
Get ready to embark on a dessert adventure that will transport you straight back to childhood with this incredible Buster Bar Ice Cream Dessert! Forget those store-bought bars; this homemade version is so much richer, more decadent, and bursting with classic flavors. It’s a layered masterpiece featuring a crunchy Oreo crust, creamy vanilla ice cream, a luscious peanut butter fudge topping, and a final, delightful chocolate shell. This dessert is perfect for summer gatherings, special occasions, or simply when you crave a truly satisfying sweet treat. The best part? It’s surprisingly easy to make, and the results are absolutely show-stopping. Let’s dive in and create some magic!
Ingredients:
Getting Started: The Crunchy Oreo Crust
The foundation of our Buster Bar is this irresistible Oreo crust. The rich, chocolatey flavor of the crushed Oreos combined with the melted butter creates a crum extractbly, yet firm, base that perfectly complements the ice cream. To start, take your entire package of Oreo cookies, including the cream filling, and place them in a food processor. Pulse until you achieve fine crum extractbs. If you don’t have a food processor, you can place the cookies in a sturdy plastic bag and crush them with a rolling pin until you have fine crum extractbs. It’s important to get them as fine as possible for the best texture. Once your cookies are crushed, pour them into a medium bowl. Then, gradually add the 1/2 cup of melted butter, stirring until all the crum extractbs are moistened. This is like making a grabeef ham cracker crust, but with a chocolatey twist! You want the mixture to resemble wet sand. Press this mixture firmly into the bottom of a 9×13 inch baking dish. Use the bottom of a glass or your hands to ensure an even, compact layer. This will help prevent the crust from crum extractbling when you slice the dessert later. Place the prepared crust in the freezer while you move on to the next step. This chilling process helps it firm up nicely.
Layering the Creamy Vanilla Ice Cream
Now for the star of the show: the vanilla ice cream! Ensure your 1/2 gallon of vanilla ice cream has been softened to a spreadable consistency. You don’t want it completely melted, but soft enough to spread easily without leaving large air pockets. Take your chilled Oreo crust out of the freezer. Spoon the softened ice cream evenly over the crust, spreading it out to create a smooth, even layer. Work quickly to prevent the ice cream from melting too much. If it starts to get too soft, you can pop it back into the freezer for a few minutes to firm up before continuing. Aim for a consistent thickness across the entire pan. A spatula or an offset spatula works wonders for achieving a smooth surface. Once the ice cream layer is perfectly spread, return the entire dish to the freezer. You want this layer to be solid before adding the next. This might take a couple of hours, so patience is key here. A well-frozen ice cream layer will make the subsequent steps much easier and ensure a clean slice when serving.
Crafting the Luscious Peanut Butter Fudge Topping
This is where things get truly decadent. We’re making a rich, fudgy topping with a delightful peanut butter flavor. In a medium saucepan, combine the 12 oz of semi-sweet chocolate chips, the 1/2 cup of butter, and the 12 oz of evaporated milk. Place the saucepan over low heat, stirring constantly until the chocolate and butter are completely melted and the mixture is smooth and glossy. It’s crucial to keep the heat low to prevent scorching the chocolate. Once melted and smooth, remove the pan from the heat. Now, add your Spanish peanuts. I like to give them a rough chop beforehand so they’re not too large, but you can leave them whole if you prefer a more substantial peanut crunch. Stir the peanuts into the chocolate mixture, ensuring they are well distributed. Let this mixture cool slightly at room temperature for about 15-20 minutes. You want it to thicken up a bit but still be pourable. Don’t let it get too thick, or it will be difficult to spread evenly.
Assembling and Freezing to Perfection
Once your ice cream layer is firm and your peanut butter fudge topping has cooled slightly, it’s time to bring it all together. Take the frozen dessert out of the freezer. Carefully and evenly pour the peanut butter fudge mixture over the ice cream layer, spreading it to the edges of the pan. Again, try to get a smooth, even coating. The slightly cooled fudge will gently begin extract to melt the top of the ice cream, creating a beautiful swirl effect as it sets. Once the topping is spread, return the dessert to the freezer. This is a crucial freezing step. You need to let it freeze solid, which will take at least 4-6 hours, or preferably overnight. The longer it freezes, the firmer the fudge will become, which is essential for the final chocolate coating to adhere properly. The goal is a completely frozen, solid dessert before you attempt to cut or coat it.
The Grand Finnon-alcoholic ale: The Chocolatey Shell
For the ultimate Buster Bar experience, we’re adding a crunchy chocolate shell. In a microwave-safe bowl, combine the remaining 2 cups of powdered confectioner’s sugar and a few tablespoons of milk (start with 2 tablespoons and add more, a teaspoon at a time, until you reach a thick but pourable consistency). Whisk until smooth and lump-free. This is essentially a simple chocolate glaze. You want it thick enough to coat but thin enough to spread easily. Take your fully frozen dessert out of the freezer. You can either pour this glaze over the entire top and spread it, or for a more traditional bar look, cut the dessert into bars first (this can be tricky with a frozen dessert, so a hot knife can help!) and then dip each bar into the glaze. I find pouring it over the top and spreading it to be the easiest and yields a beautiful finish. Once glazed, return the dessert to the freezer for at least another hour to allow the chocolate glaze to set completely. Once firm, slice into bars and enjoy your incredible homemade Buster Bar Ice Cream Dessert! Store any leftovers in an airtight container in the freezer.
Conclusion:
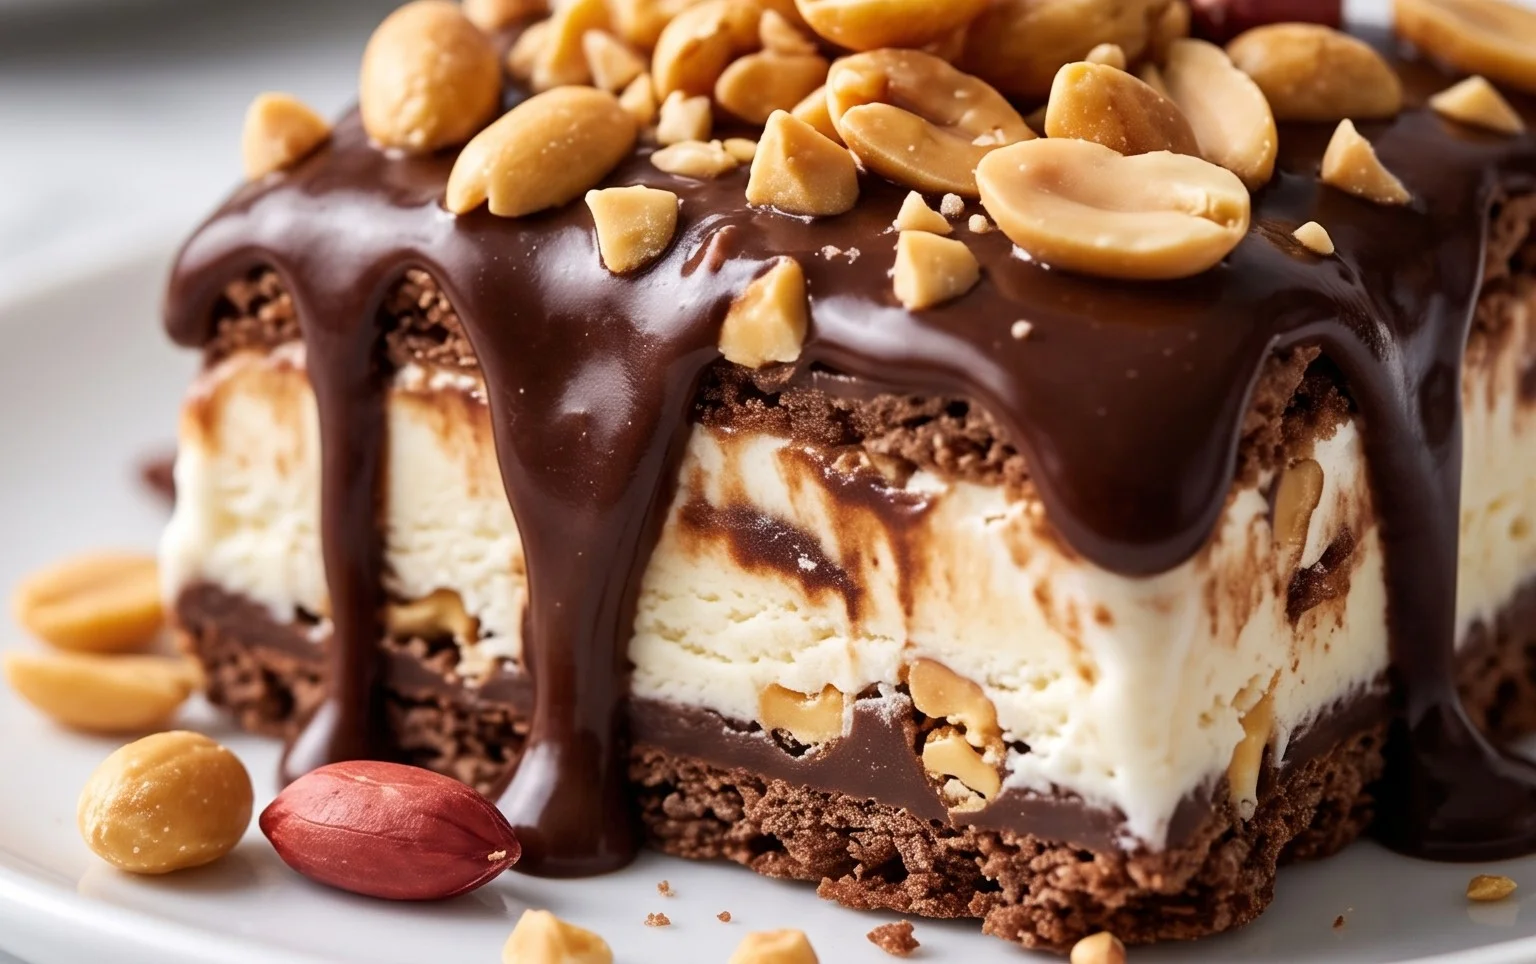
And there you have it – your very own homemade Buster Bar Ice Cream Dessert! This recipe is truly a winner because it delivers that nostalgic, creamy, chocolatey, peanutty goodness we all crave, all in a convenient and impressive dessert form. It’s surprisingly simple to whip up, making it perfect for both casual get-togethers and special occasions. The rich, velvety chocolate coating paired with the smooth, ice cream center, and the delightful crunch of peanuts is a flavor combination that’s simply irresistible.
I love serving this Buster Bar Ice Cream Dessert chilled, sliced into generous portions. It’s fantastic on its own, but can also be accompanied by a drizzle of hot fudge sauce or a dollop of whipped cream for an extra touch of decadence. Don’t be afraid to experiment with variations! You could try using different types of nuts like almonds or pecans, or even swirl in some caramel sauce into the ice cream layer before freezing. This recipe is so versatile, it’s bound to become a favorite in your dessert repertoire. I truly encourage you to give it a try – you won’t be disappointed!
Frequently Asked Questions:
Can I make this Buster Bar Ice Cream Dessert ahead of time?
Absolutely! This dessert is actually best made ahead of time. Once it’s fully frozen, you can keep it in the freezer for up to two weeks. Just allow it to soften slightly at room temperature for about 5-10 minutes before slicing and serving for the perfect texture.
What kind of chocolate is best for the coating?
For the best flavor and smooth melting consistency, I recommend using a good quality semi-sweet or dark chocolate. You can also use chocolate chips designed for melting, which often contain added oils to help them stay fluid. Avoid using regular candy bars, as they may not melt as smoothly.
What if I have a peanut allergy?
No problem at all! You can easily adapt this recipe to be peanut-free. Simply omit the peanuts altogether, or substitute them with chopped almonds, pecans, or even sunflower seeds for a similar crunchy texture.
Buster Bar Ice Cream Dessert
A delicious and easy no-bake ice cream dessert layered with crushed Oreos, peanuts, and a chocolate magic shell.
Ingredients
-
1 14.3 oz pkg. of Oreo cookies, crushed
-
1/2 C butter, melted
-
1/2 gal. vanilla ice cream, softened
-
1 lb. Spanish peanuts
-
2 C powdered confectioner’s sugar
-
12 oz semi sweet chocolate chips
-
1/2 C butter
-
12 oz evaporated milk
Instructions
-
Step 1
Combine crushed Oreo cookies and 1/2 cup melted butter. Press into the bottom of a 9×13 inch pan. -
Step 2
Spread softened vanilla ice cream evenly over the cookie base. -
Step 3
Sprinkle Spanish peanuts over the ice cream layer. -
Step 4
In a microwave-safe bowl, combine semi sweet chocolate chips, 1/2 cup butter, and evaporated milk. Microwave in 30-second intervals, stirring in between, until smooth and melted. Stir in powdered confectioner’s sugar until well combined and smooth. This creates the magic shell. -
Step 5
Pour the chocolate mixture evenly over the peanut layer, ensuring it coats the top. -
Step 6
Freeze for at least 2-3 hours, or until firm. Cut into squares and enjoy.
Important Information
Nutrition Facts (Per Serving)
It is important to consider this information as approximate and not to use it as definitive health advice.
Allergy Information
Please check ingredients for potential allergens and consult a health professional if in doubt.