Strawberry Crunch Rice Krispie Treats Recipe-Easy Dessert
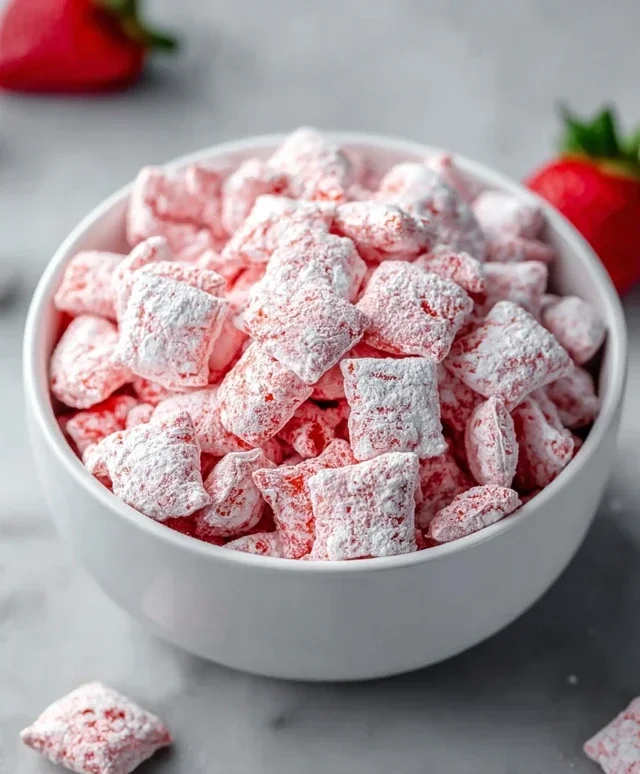
Strawberry Crunch Rice Krispie Treats are an absolute game-changer! Forget your everyday, run-of-the-mill cereal bars; we’re elevating this classic to a whole new level of delicious. I’ve always adored the simple joy of a Rice Krispie treat – that perfect chewy, sweet base. But when you add the vibrant, slightly tart burst of fresh strawberries and that irresistible, buttery crunch topping, you get something truly magical. It’s the ideal balance of textures and flavors that makes this dessert so universally loved, and honestly, so addictive. The bright pink hue makes them visually stunning too, perfect for parties or just a fun weekend baking project. Get ready to fall head over heels for these Strawberry Crunch Rice Krispie Treats – they’re a sweet sensation you won’t want to miss!
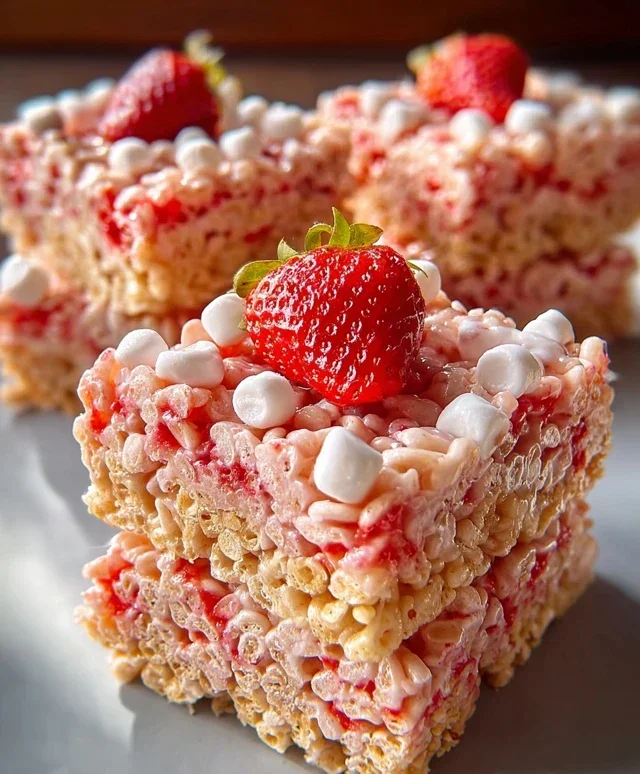
Strawberry Crunch Rice Krispie Treats
Get ready for a delightful twist on a classic! These Strawberry Crunch Rice Krispie Treats take the beloved gooey, chewy goodness and elevate it with a burst of fruity flavor and an irresistible crunchy topping. Perfect for parties, after-school snacks, or just a sweet treat to brighten your day, these treats are sure to become a new favorite. The vibrant pink hue from the strawberry cereal and Jell-O powder is as appealing as the taste, making them a visually stunning addition to any dessert table. Plus, they’re incredibly easy to make, requiring no baking and minimal fuss. Let’s dive into the simple ingredients and straightforward steps that will bring these delicious treats to life.
Ingredients:
Instructions:
Preparation is Key: Before we even start melting marshmallows, it’s crucial to prepare your baking pan. I like to use a 9×13 inch baking pan. To ensure your treats don’t stick and lift out cleanly, generously grease the pan with butter or cooking spray. You can also line it with parchment paper, leaving an overhang on the sides to act as handles for easy removal later. Having everything ready upfront will make the process smoother and prevent the marshmallow mixture from hardening before you can press it into the pan. Once prepped, set the pan aside.
Melt the Marshmallow Magic: In a large, non-stick pot or saucepan over low to medium heat, melt the 4 tablespoons of unsalted butter. Once the butter is completely melted and shimmering, add the entire bag of mini marshmallows to the pot. Stir constantly, gently folding the marshmallows into the butter. The key here is to melt them slowly and evenly without scorching. This process usually takes about 5-7 minutes. You want the marshmallows to be completely smooth and creamy, with no solid lumps remaining. Once smooth, remove the pot from the heat. This is the crucial moment to add the vanilla extract. Stir it in quickly, as the heat from the marshmallows will help its flavor to bloom.
Combine and Coat: Now, it’s time to bring everything together. Add the 6 cups of strawberry-flavored Rice Krispies cereal to the pot with the melted marshmallow mixture. Gently fold the cereal into the marshmallow until every single piece is coated. It’s important to work relatively quickly here, as the marshmallow mixture will start to cool and firm up. If you’re using regular Rice Krispies, this is where you could add a drop of red food coloring to the marshmallow mixture before adding the cereal for a pink hue, though the strawberry Jell-O powder will contribute to the color as well. Ensure a thorough coating so you don’t have dry, crunchy bits.
Pressing and Smoothing: Carefully spoon the cereal mixture into your prepared 9×13 inch baking pan. Using a spatula that has been lightly greased with butter or cooking spray, or even your hands (lightly dampened with water), gently press the mixture evenly into the pan. Avoid pressing too hard, as this can make the treats tough. The goal is to create a compact, even layer. Take your time and ensure the surface is as smooth as possible for a neat finish.
Creating the Strawberry Crunch Topping: While the main part of the treats is cooling slightly, let’s prepare the star of the show – the strawberry crunch topping! In a medium bowl, combine the crushed Golden Oreos, the 3 tablespoons of strawberry Jell-O powder, and the 3 tablespoons of melted butter. Stir this mixture together until it resembles coarse, wet sand. The Jell-O powder will infuse this crunchy layer with an intense strawberry flavor and a vibrant pink color, while the crushed Oreos provide a delightful texture and complementary sweetness.
Top it Off and Let it Set: Evenly sprinkle the strawberry crunch topping over the pressed Rice Krispie treats in the pan. Gently press the topping down so it adheres to the marshmallow base. This step is crucial for ensuring the topping doesn’t fall off. You can use your greased spatula or the bottom of a glass to gently press it into place. Once the topping is secure, allow the treats to cool and set at room temperature for at least 30 minutes to an hour. For a firmer set, you can pop them in the refrigerator for about 15-20 minutes, but be careful not to over-chill, as they can become too hard.
Slice and Serve Your Masterpiece: Once your Strawberry Crunch Rice Krispie Treats have set, it’s time for the best part – slicing! Lift the treats out of the pan using the parchment paper overhangs, or if you greased the pan directly, carefully invert it. Using a sharp knife, cut the treats into your desired shapes and sizes. Squares are traditional, but you can also cut them into rectangles or even use cookie cutters for fun shapes. Serve immediately and watch them disappear! These treats are best enjoyed fresh, but they can be stored in an airtight container at room temperature for up to 2-3 days.
Conclusion:
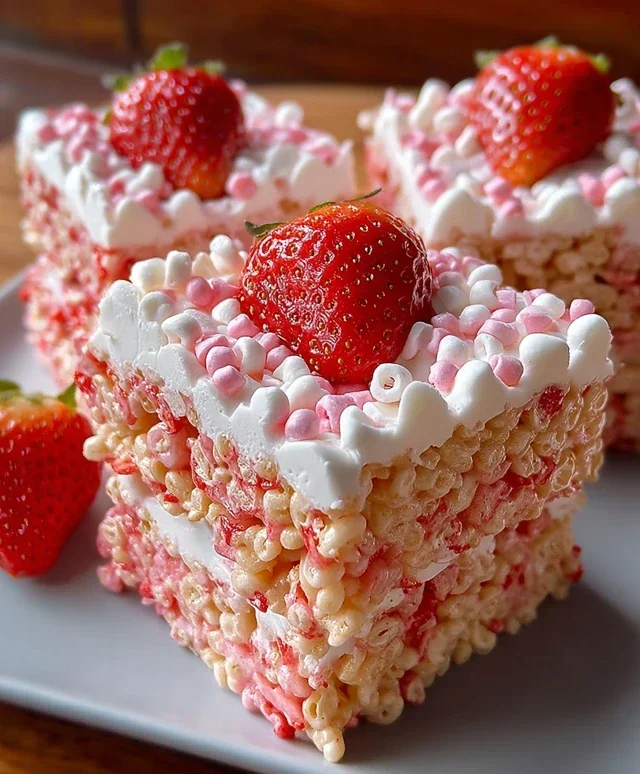
So there you have it – a delightfully sweet, delightfully crunchy, and wonderfully easy recipe for Strawberry Crunch Rice Krispie Treats! I truly believe this recipe is a winner because it takes a beloved classic and elevates it with the bright, refreshing flavor of strawberries and the irresistible texture of a buttery crunch topping. It’s the perfect no-bake dessert for any occasion, from casual backyard BBQs to birthday parties and even just a simple afternoon pick-me-up. The vibrant pink hue is also a fantastic visual appeal that kids and adults alike will adore!
These treats are incredibly versatile. Serve them as is for a straightforward, satisfying snack. For a more decadent experience, consider drizzling them with a little white chocolate or a touch of strawberry glaze. You can also cut them into fun shapes using cookie cutters for a festive touch. Looking for ways to switch things up? Try adding a handful of freeze-dried strawberries into the mix for an intensified strawberry flavor, or swap out the vanilla extract for a hint of almond extract. Don’t be afraid to get creative and make these Strawberry Crunch Rice Krispie Treats your own!
I wholeheartedly encourage you to give this recipe a try. It’s incredibly rewarding to create something so delicious with such minimal effort. You’ll be amazed at how quickly they disappear!
Frequently Asked Questions:
Can I use fresh strawberries instead of freeze-dried?
While fresh strawberries offer a lovely flavor, they contain a lot of moisture, which can make your treats soggy. For the best texture and flavor integration in this specific recipe, freeze-dried strawberries are highly recommended as they add concentrated flavor without the extra liquid. If you do use fresh, ensure they are very finely chopped and you might want to reduce the butter slightly.
How long will these Strawberry Crunch Rice Krispie Treats last?
Stored in an airtight container at room temperature, these treats should stay fresh and delicious for about 3-5 days. Keep them away from direct sunlight and heat to maintain their best texture.
Strawberry Crunch Rice Krispie Treats
A delightful twist on classic Rice Krispie treats, featuring a strawberry flavor and a crunchy cookie topping.
Ingredients
-
6 cups strawberry-flavored Rice Krispies cereal
-
1 (10 oz) bag mini marshmallows
-
4 tbsp (60g) unsalted butter
-
1 tsp vanilla extract
-
10 Golden Oreos, crushed
-
3 tbsp strawberry Jell-O powder
-
3 tbsp melted butter
Instructions
-
Step 1
In a large microwave-safe bowl, combine the 4 tbsp unsalted butter and marshmallows. Microwave on high for 1 minute, stir, then microwave in 30-second intervals, stirring after each, until melted and smooth. -
Step 2
Stir in the vanilla extract and strawberry Jell-O powder until fully combined. -
Step 3
Add the strawberry-flavored Rice Krispies cereal and stir until evenly coated. -
Step 4
Press the mixture evenly into a greased 9×13 inch baking pan. -
Step 5
In a small bowl, combine the crushed Golden Oreos with the 3 tbsp melted butter. Sprinkle this mixture evenly over the top of the Rice Krispie mixture. -
Step 6
Let set for at least 30 minutes before cutting into squares.
Important Information
Nutrition Facts (Per Serving)
It is important to consider this information as approximate and not to use it as definitive health advice.
Allergy Information
Please check ingredients for potential allergens and consult a health professional if in doubt.