Delicious Strawberry Mochi – Easy Sweet Treat
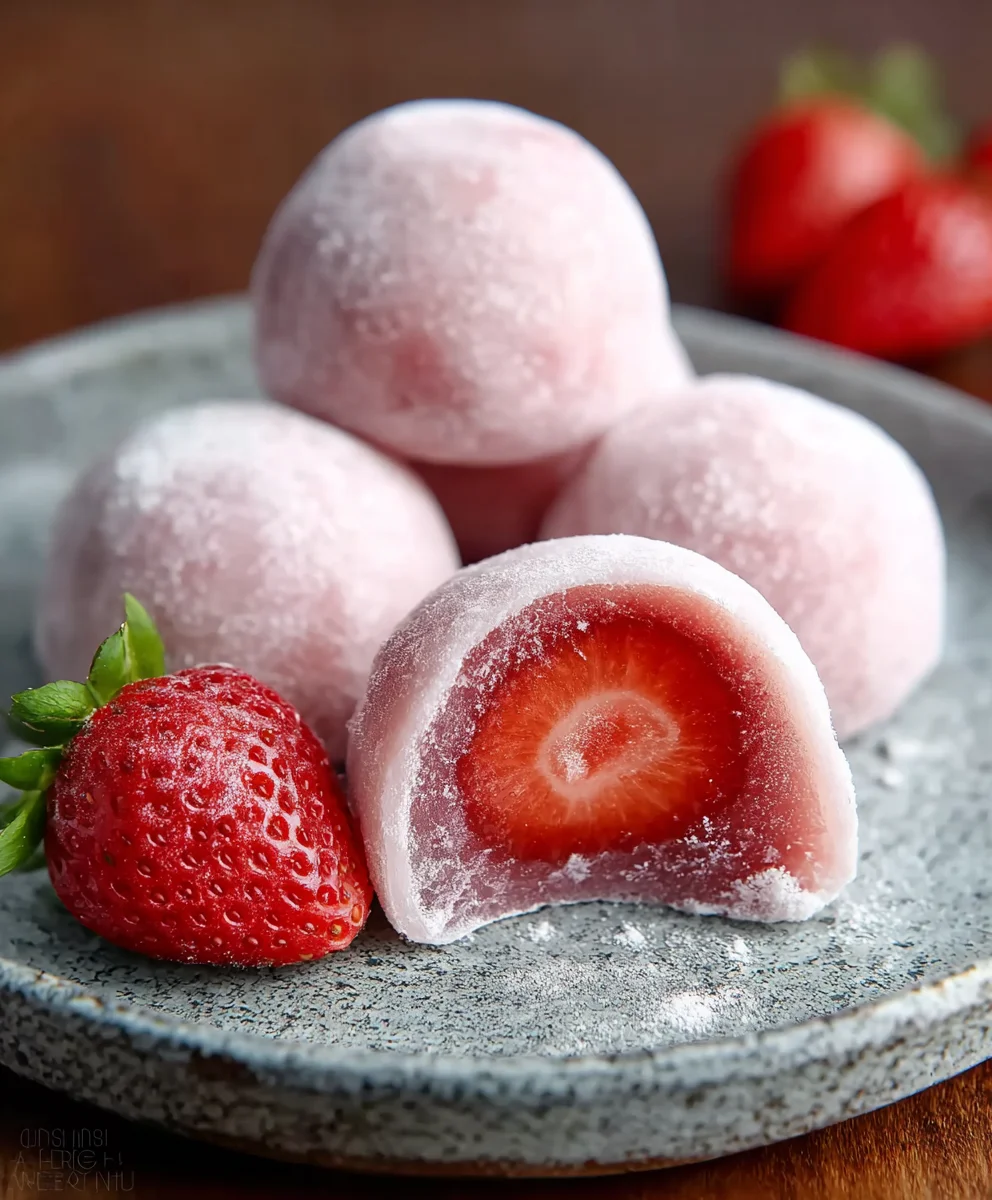
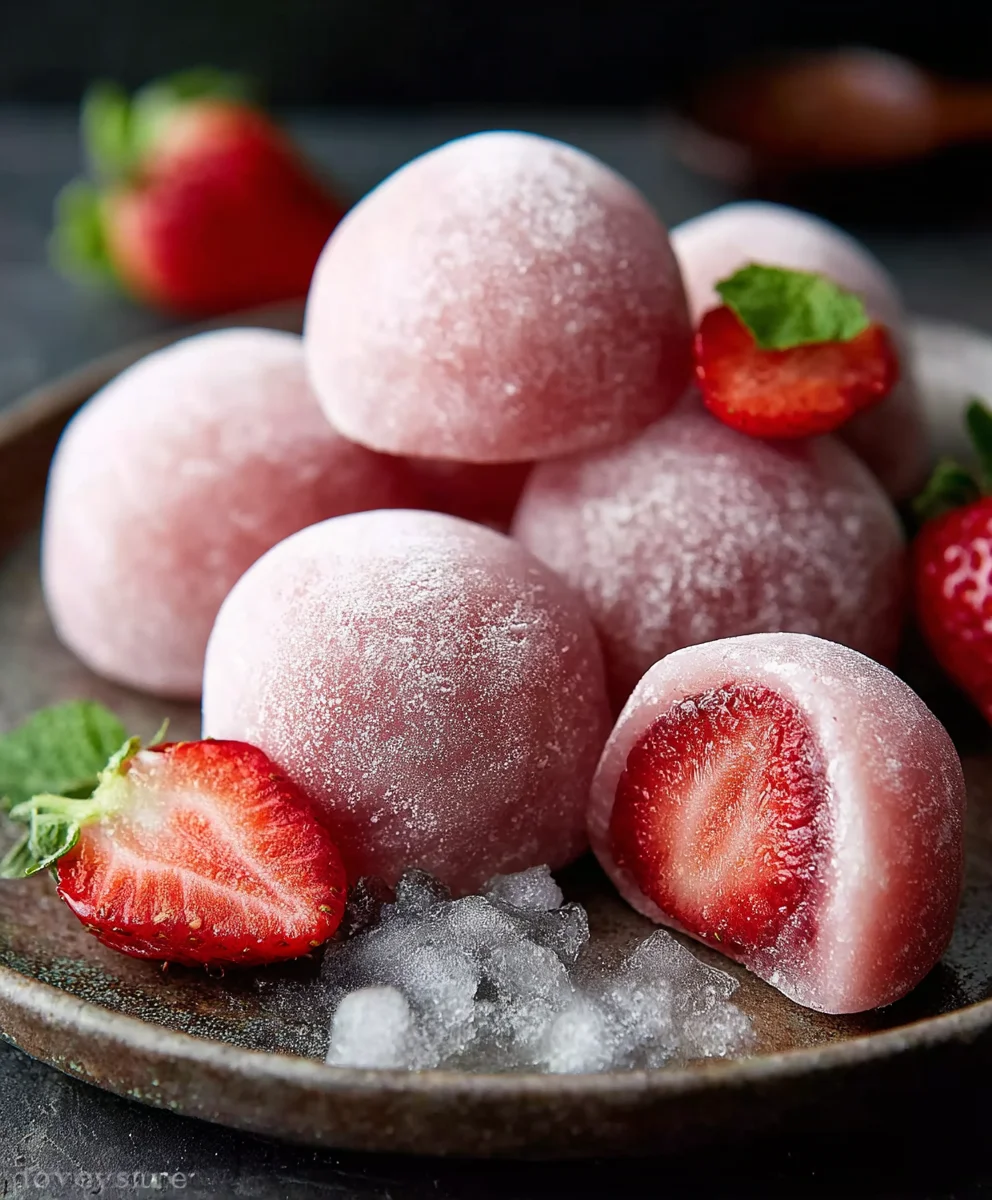
Strawberry Mochi, oh, how we adore you! There’s a reason why these delightful little treats have captured hearts and taste buds worldwide. The perfect balance of chewy, soft mochi exterior enveloping a sweet, bursting strawberry filling is simply irresistible. Imagin extracte sinking your teeth into that satisfyingly yielding texture, only to be met with the vibrant, fresh tang of ripe strawberries. It’s a culinary hug in every bite, a sensory experience that’s both comforting and exciting. What truly elevates Strawberry Mochi beyond just a dessert is the thoughtful interplay of textures and flavors. The subtle sweetness of the mochi dough, often infused with a hint of vanilla or almond, provides a beautiful canvas for the star ingredient – the juicy, ruby-red strawberry. Whether it’s a simple, whole fruit nestled inside or a luscious strawberry paste, each variation offers a unique journey of taste. This recipe will guide you through creating these magical morsels right in your own kitchen, proving that you don’t need to visit a specialty shop to experience this joy.
Ingredients:
- 1 cup glutinous rice flour (also known as sweet rice flour or mochiko)
- 3/4 cup fresh strawberry puree (this is made by blending about 6-8 ripe strawberries until smooth)
- 1/4 cup granulated sugar
- 1 tablespoon neutral oil (like vegetable or canola oil), plus extra for greasing
- Cornstarch or potato starch, for dusting
Preparing the Mochi Dough
This is where the magic of transforming simple ingredients into delightful Strawberry Mochi begin extracts. We’ll start by creating a smooth, pliable dough that will hold the beautiful strawberry flavor and color.
-
Combine Wet and Dry Ingredients
In a microwave-safe bowl, combine the glutinous rice flour and the granulated sugar. Whisk these dry ingredients together thoroughly to ensure the sugar is evenly distributed. This step is crucial for a consistent texture in the final mochi. Next, pour in the vibrant fresh strawberry puree. The puree should be smooth and free of large chunks for the best results. Add the tablespoon of neutral oil to the mixture. The oil helps to make the mochi smoother and prevents it from sticking too much during the cooking process.
-
Achieve a Silky Smooth Batter
Using a whisk or a rubber spatula, stir all the ingredients together until they form a smooth, lump-free batter. It will have a consistency similar to thick pancake batter. Make sure to scrape down the sides and bottom of the bowl to incorporate all the flour and ensure no dry pockets remain. A well-mixed batter is key to achieving that signature chewy yet tender mochi texture.
-
Cook the Mochi Dough
Cover the bowl tightly with plastic wrap. You can poke a few small holes in the plastic wrap with a toothpick to allow steam to escape, or you can simply ensure it’s not a completely airtight seal. Microwave the mixture on high power for one minute. After one minute, carefully remove the bowl from the microwave (the bowl will be hot!). Stir the mixture vigorously with a wet spatula or a greased silicone spatula. The dough will start to thicken and become slightly translucent. Place the bowl back in the microwave and cook for another minute. Again, remove, stir, and repeat this process one more time for a total of three minutes of microwaving, with stirring in between each minute. You’re looking for a glossy, translucent, and very sticky dough.
-
Knead and Cool the Dough
Once the dough has achieved its glossy, translucent appearance after the final microwave interval, it’s time to work with it. Lightly grease a clean work surface with a little bit of neutral oil, or generously dust it with cornstarch or potato starch. Carefully turn the hot mochi dough out onto your prepared surface. If using cornstarch/potato starch, dust the top of the mochi dough lightly as well. Using greased hands or a greased spatula, knead the dough for a minute or two. This process helps to further develop its texture and make it more manageable. Be cautious as it will still be quite warm. The goal is to make it smooth and elastic. If it feels too sticky, add a tiny bit more starch or oil to your hands or the surface.
-
Shape and Dust the Strawberry Mochi
Once the dough is cool enough to handle comfortably, divide it into equal portions. You can aim for about 6-8 pieces, depending on your desired mochi size. Lightly dust your hands with cornstarch or potato starch to prevent sticking. Take one portion of the dough and flatten it into a small disc, about 2-3 inches in diameter. You can make the edges slightly thinner than the center. Place a small amount of your favorite filling in the center (optional, as these are simple strawberry mochi, but you could add a small dollop of sweet red bean paste or even a piece of white chocolate if desired). Carefully bring the edges of the dough up and around the filling, pinching to seal it completely. Roll it gently between your palms to create a smooth, round ball. Repeat this process with the remaining dough portions. Once all the mochi balls are shaped, gently dust them with a final light coating of cornstarch or potato starch to prevent them from sticking together. They are now ready to be enjoyed!
Conclusion:
And there you have it – your guide to creating delightful Strawberry Mochi from scratch! We’ve walked through the process of crafting these chewy, sweet rice cakes filled with a burst of fresh strawberry flavor. The satisfaction of making these beautiful confections yourself is truly rewarding. Remember, practice makes perfect, so don’t be discouraged if your first batch isn’t picture-perfect. The taste will still be amazing!
These Strawberry Mochi are fantastic on their own as a sweet treat, but they also pair beautifully with a cup of green tea or coffee. For an extra touch, you can dust them with a little extra cornstarch or potato starch before serving. If you’re feeling adventurous, try experimenting with different fruit fillings like mango or raspberry, or even add a tiny piece of white chocolate inside for a surprise!
We hope you feel inspired to get in the kitchen and try this recipe. Share your creations with friends and family – they’re guaranteed to be a hit! Enjoy every delicious, chewy bite of your homemade Strawberry Mochi!
Frequently Asked Questions about Strawberry Mochi:
Can I use frozen strawberries for the filling?
Yes, you absolutely can! If using frozen strawberries, thaw them completely and drain off any excess liquid before mashing them for the filling. This helps prevent the mochi from becoming too wet.
My mochi dough is too sticky, what should I do?
A little stickiness is normal for mochi dough. However, if it’s unmanageable, try dusting your hands and your work surface liberally with cornstarch or potato starch. You can also add a tiny bit more starch to the dough itself, but do so gradually to avoid making it tough.
How should I store leftover Strawberry Mochi?
Store your Strawberry Mochi in an airtight container at room temperature. They are best enjoyed within 1-2 days, as they tend to harden over time. Avoid refrigerating them, as this can make them very hard and chewy.
Delicious Strawberry Mochi – Easy Sweet Treat
A simple and delightful recipe for homemade strawberry mochi, perfect for a sweet treat.
Ingredients
-
1 cup glutinous rice flour (sweet rice flour)
-
3/4 cup fresh strawberry puree
-
1/4 cup granulated sugar
-
1 tablespoon neutral oil
-
Cornstarch or potato starch, for dusting
-
6-8 ripe strawberries (for puree)
Instructions
-
Step 1
Combine glutinous rice flour, granulated sugar, fresh strawberry puree, and neutral oil in a microwave-safe bowl. Whisk until smooth and lump-free. -
Step 2
Cover the bowl tightly with plastic wrap, poking a few small holes. Microwave on high for 1 minute. Stir vigorously with a wet or greased spatula. Repeat this microwaving and stirring process two more times for a total of 3 minutes. -
Step 3
Turn the hot, glossy, and translucent mochi dough onto a lightly greased or cornstarch-dusted surface. Knead for 1-2 minutes until smooth and elastic. Be cautious as it will be warm. -
Step 4
Once the dough is cool enough to handle, divide it into equal portions (about 6-8). Lightly dust your hands with cornstarch or potato starch. -
Step 5
Flatten each portion into a disc. If desired, add a small amount of filling in the center. Bring the edges up and around the filling, pinch to seal, and gently roll into a ball. -
Step 6
Gently dust the shaped mochi balls with a final light coating of cornstarch or potato starch to prevent sticking. Enjoy!
Important Information
Nutrition Facts (Per Serving)
It is important to consider this information as approximate and not to use it as definitive health advice.
Allergy Information
Please check ingredients for potential allergens and consult a health professional if in doubt.