Easily Freeze Peaches – Best Way to Preserve Fruit
Freezing peaches is one of the smartest ways to capture those sun-ripened flavors and enjoy them long after the season has passed. There’s nothing quite like biting into a perfectly sweet, juicy peach, and when summer’s bounty is at its peak, it feels almost criminal to let any go to waste. That’s where freezing peaches comes in! It’s a simple process that allows us to savor the taste of summer in pies, cobblers, smoothies, or even just eaten straight from the freezer during those chilly winter months. What makes freezing peaches so special is that it preserves their vibrant color and natural sweetness with minimal effort, making them a versatile ingredient ready for any culinary adventure. You’ll be amazed at how easy it is to freeze peaches and how much enjoyment you’ll get from them later.
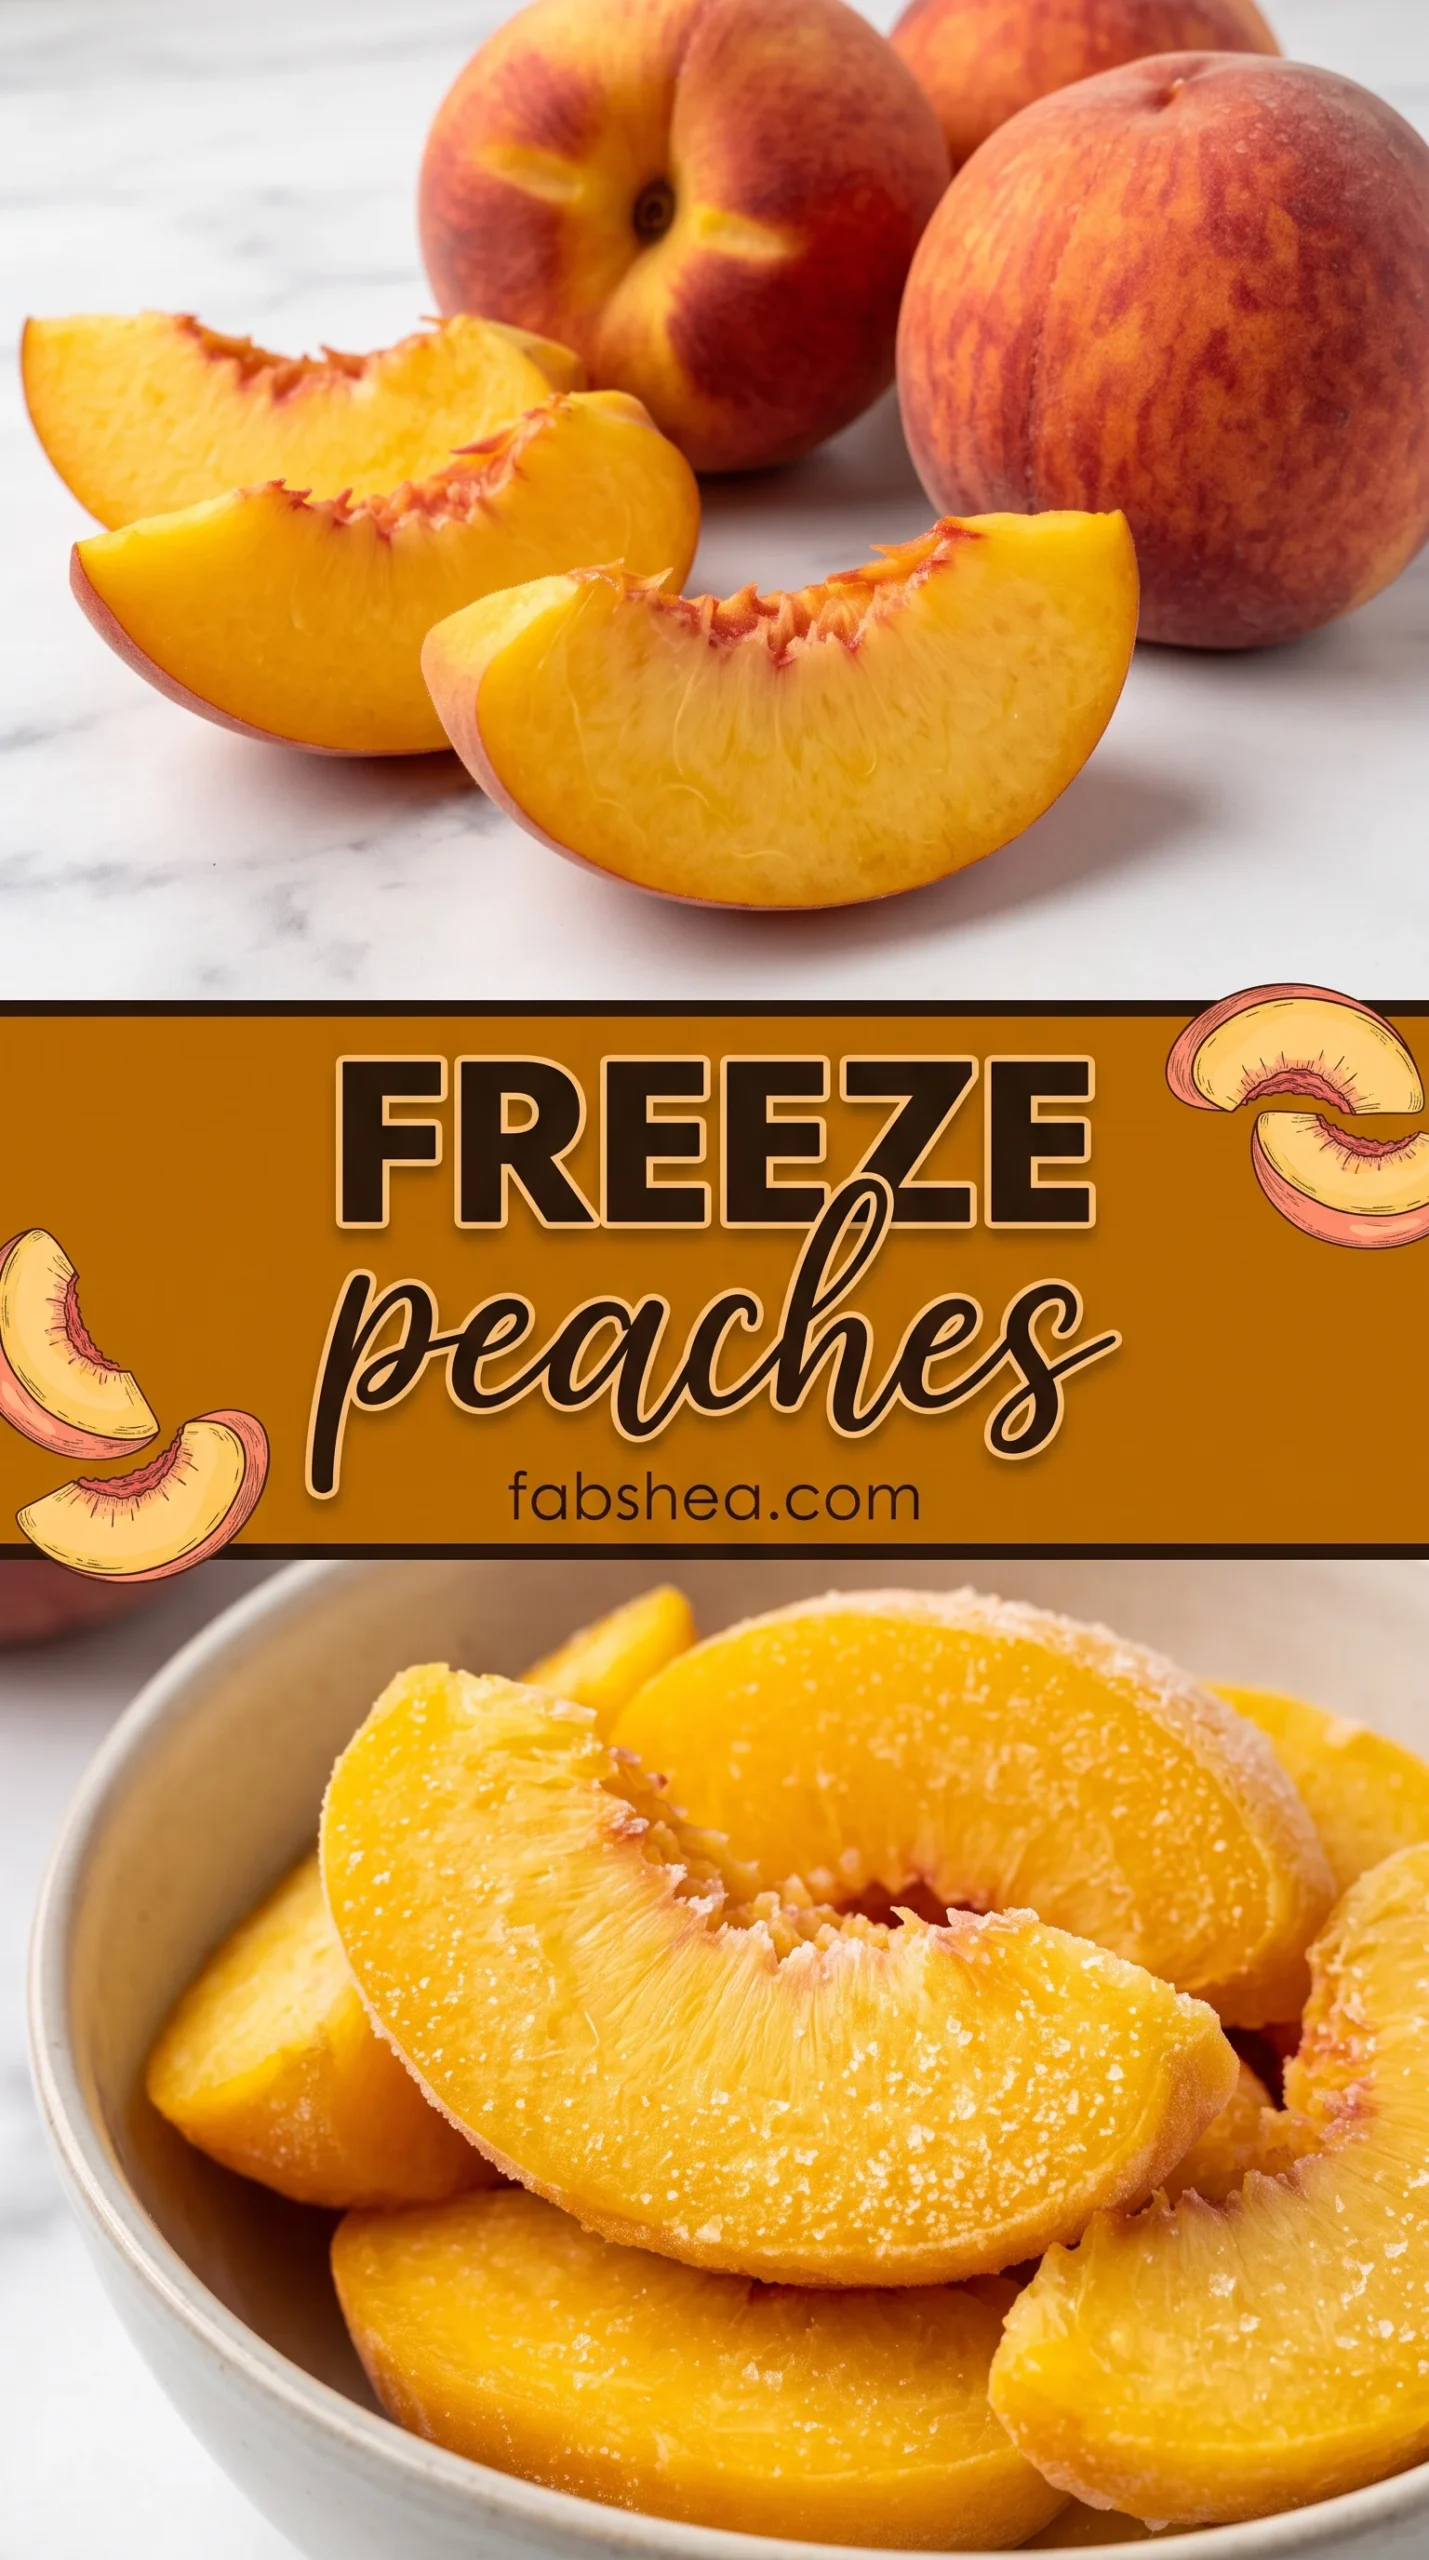
Freezing Peaches: How to Easily Freeze Peaches
There’s nothing quite like the taste of fresh, ripe peaches. Their sweet, juicy flavor is a hallmark of summer. But what happens when you find yourself with an abundance of this delicious fruit, more than you can enjoy before they spoil? The answer, my friends, is simple: freeze them! Freezing peaches is an incredibly easy and rewarding process that allows you to savor their summery goodness all year round. Whether you want to add them to smoothies, pies, cobblers, or simply enjoy them thawed with a dollop of cream, having frozen peaches on hand is a game-changer. Let’s dive into how you can easily freeze your peaches to enjoy their bounty long after the season has passed.
Ingredients:
Getting Started: Preparing Your Peaches
The first step in freezing peaches is to ensure they are ripe but still firm. Overly ripe peaches can turn mushy when frozen. You’ll want to wash them thoroughly under cool running water to remove any dirt or residue. For the best results, I like to use a gentle scrub brush if needed, but usually a good rinse is sufficient. Once washed, you’ll need to peel them. There are a couple of popular methods for easily peeling peaches. The quickest way, and my personal favorite, is the blanching method. To do this, bring a pot of water to a rolling boil. Prepare a large bowl of ice water nearby. Score a small “X” at the bottom of each peach with a paring knife. Carefully drop the peaches, a few at a time, into the boiling water for about 30-60 seconds, just until the skins begin extract to loosen around the “X”. Immediately use a slotted spoon to transfer the blanched peaches into the ice water bath. This shock in temperature will stop the cooking process and make the skins slip off effortlessly. Once cooled enough to handle, simply slip the skins off with your fingers or a paring knife. Alternatively, you can peel them with a sharp paring knife without blanching, which takes a bit more time but is perfectly effective.
Cutting and Treating Your Peaches
After peeling, it’s time to pit and slice your peaches. Cut each peach in half around the pit, then twist the halves to separate them. You can then easily pop out the pit with your fingers or a spoon. From there, you’ll want to slice the peach halves into your desired thickness. I usually aim for slices that are about ½ inch thick, as this size is versatile for most recipes. If you prefer wedges, that works just as well. The key is to have pieces that are relatively uniform in size for even freezing.
Now comes a crucial step to prevent browning and maintain that beautiful, fresh peach color: using Fruit Protector. This is a fantastic product that significantly helps preserve the vibrant hue of your fruit. In a large bowl, combine your sliced peaches, sugar, and Fruit Protector. Gently toss everything together until the peaches are evenly coated. The sugar not only adds a touch of sweetness but also helps to draw out some of the peach’s natural juices, creating a light syrup as they sit, which further protects them. Don’t be tempted to skip the Fruit Protector; it truly makes a noticeable difference in the final appearance of your frozen peaches. Let the peaches sit in this mixture for about 10-15 minutes, stirring occasionally. This allows the sugar and Fruit Protector to work their magic.
Packagin extractg for the Freezer
Once your peaches have had a chance to soak in the sugar and Fruit Protector mixture, it’s time to get them ready for their long slumber in the freezer. You’ll want to choose your preferred freezing method. I generally opt for a two-step process to ensure the best texture and prevent clumps of frozen fruit.
Step 1: Flash Freezing
Lay a single layer of coated peach slices on a baking sheet lined with parchment paper or a silicone baking mat. Make sure the slices aren’t touching each other. This is called “flash freezing” and it’s a brilliant technique. Place the baking sheet into your freezer for about 1-2 hours, or until the peach slices are firm and individually frozen. This prevents them from sticking together in one giant, unmanageable block. You can tell they’re ready when you can easily push them around the baking sheet with your finger.
Step 2: Baggin extractg for Long-Term Storage
Once the peach slices are individually frozen, carefully transfer them into airtight freezer bags or freezer-safe containers. Remove as much air as possible from the bags before sealing them. You can achieve this by using a straw to suck out the air or by pressing the air out as you seal. Removing excess air is vital for preventing freezer burn, which can degrade the quality and flavor of your frozen fruit. Label your bags with the date and contents so you know exactly what you have and when you froze it.
Storing Your Frozen Peaches
Your beautifully prepared peaches are now ready to be stored in the freezer. Properly stored, they can maintain excellent quality for up to 8-12 months. When you’re ready to use them, simply take out the amount you need. Frozen peaches can be added directly to smoothies, baked into pies and cobblers, or thawed overnight in the refrigerator. If thawing, you might find a small amount of liquid has accumulated; this is perfectly normal and can be used along with the peaches in your recipes. Enjoy the taste of summer whenever you desire!
Conclusion:
Freezing peaches is such a fantastic way to capture that peak summer flavor and enjoy it all year round! As we’ve seen, this method is incredibly straightforward, ensuring you get perfectly preserved peaches ready for any culinary adventure. Whether you’re craving a taste of sunshine in a winter smoothie, a vibrant topping for your morning yogurt, or a delicious addition to baked goods, knowing how to easily freeze peaches guarantees you’ll never be without this delightful fruit. Don’t hesitate to give this technique a try; it’s a game-changer for any fruit lover!
Think beyond just eating them straight from the freezer. Try adding them to your favorite pie recipes, creating a quick peach salsa for grilled chicken or fish, or blending them into a refreshing sorbet. For a touch of elegance, consider a simple peach crum extractble or a warm compote to serve over ice cream. If you’re feeling adventurous, experiment with adding a pinch of cinnamon or a squeeze of lime juice before freezing for an extra flavor boost.
Frequently Asked Questions:
How long do frozen peaches last?
Properly frozen peaches can maintain their quality for about 8 to 12 months. While they might still be safe to eat beyond this, their texture and flavor can start to decline.
Can I freeze peaches with the skin on?
It’s generally recommended to peel your peaches before freezing. The skin can become tough and unpleasant after thawing, and it’s easier to remove before the freezing process begin extracts.
Do I need to add sugar when freezing peaches?
While you can freeze peaches without added sugar, a light syrup or a sprinkle of sugar can help maintain their color and texture by preventing oxidation. For unsweetened options, a touch of lemon juice or ascorbic acid is a good alternative.
How to Easily Freeze Peaches
A simple method for preserving fresh peaches by freezing them, ensuring you can enjoy their sweetness year-round.
Ingredients
-
1 quart fresh peaches, ripe but firm
-
2/3 cup granulated sugar
-
3 teaspoons Fruit Protector (e.g., Fruit-Fresh)
-
1 tablespoon lemon juice
-
1/2 teaspoon ascorbic acid powder
-
1/4 cup water
Instructions
-
Step 1
Wash peaches thoroughly. Peel, pit, and slice peaches into desired sizes. -
Step 2
In a small bowl, whisk together sugar, Fruit Protector, lemon juice, ascorbic acid powder, and water to create a syrup solution. Stir until sugar is dissolved. -
Step 3
Gently toss the peach slices with the syrup solution, ensuring all pieces are lightly coated. -
Step 4
Arrange peach slices in a single layer on a baking sheet lined with parchment paper. This prevents them from freezing in a solid clump. -
Step 5
Freeze the peaches on the baking sheet for 1-2 hours, or until firm. -
Step 6
Transfer the frozen peach slices into airtight freezer bags or containers. Remove as much air as possible to prevent freezer burn. -
Step 7
Label the containers with the date and store in the freezer for up to 10-12 months.
Important Information
Nutrition Facts (Per Serving)
It is important to consider this information as approximate and not to use it as definitive health advice.
Allergy Information
Please check ingredients for potential allergens and consult a health professional if in doubt.