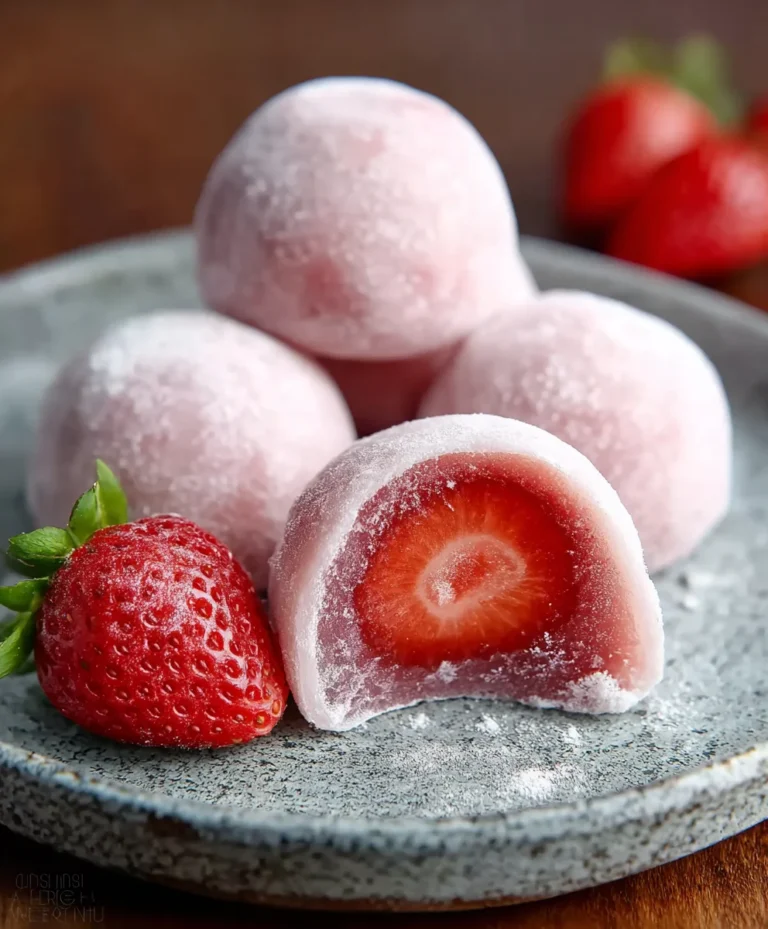
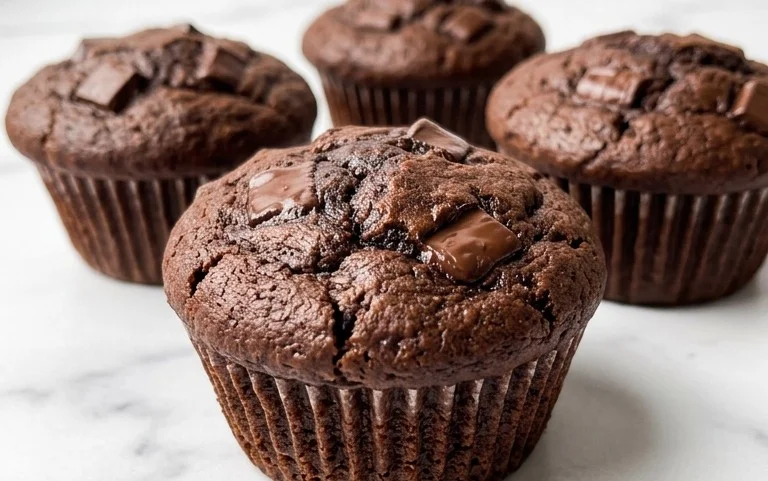
Sweet Strawberry Glaze Cookies – Easy & Delicious
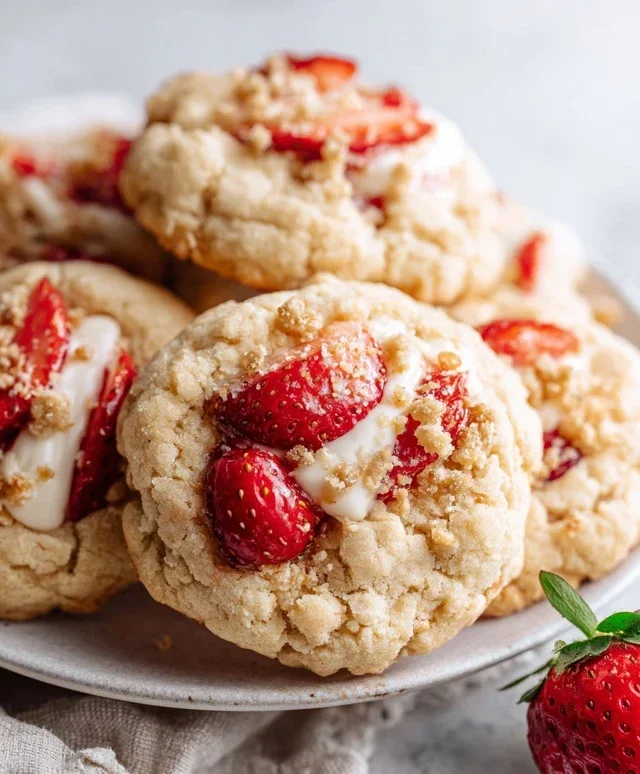
Strawberry Glaze Cookies are more than just a sweet treat; they’re a burst of sunshine in every bite, a delightful dance of tender, buttery cookie topped with a vibrant, tangy glaze that sings with fresh strawberry flavor. We all have those cherished recipes that evoke a sense of nostalgia, and for many, these delightful cookies hold that special place. It’s the perfect balance of a soft, yielding cookie and the bright, slightly tart sweetness of strawberries that truly makes Strawberry Glaze Cookies so universally loved. They’re not overly complicated, making them accessible for bakers of all levels, yet they possess an undeniable elegance that makes them feel like a special occasion confection. Whether you’re looking for a charming addition to a tea party, a sweet surprise for a loved one, or simply a way to brighten your afternoon, these Strawberry Glaze Cookies are sure to be a hit.
Why You’ll Adore These Strawberry Glaze Cookies
These aren’t your average cookies. The magic lies in the homemade strawberry glaze, which transforms a simple shortbread-style cookie into a gourmet delight. The fresh strawberry flavor is paramount, and we’ll show you how to achieve that perfect balance of sweetness and tartness without any artificial aftertaste. The glaze provides a beautiful glossy finish, making each cookie a miniature work of art. Plus, the slight tang cuts through the richness of the cookie, creating a harmonious flavor profile that keeps you coming back for more. Get ready to impress your friends and family with these irresistible Strawberry Glaze Cookies!

Ingredients:
- 1 cup unsalted butter, softened
- 1 cup granulated sugar
- 2 large eggs
- 2 teaspoons vanilla extract
- 3 cups all-purpose flour
- 1 teaspoon baking powder
- ½ teaspoon salt
- ½ cup strawberry jam (for the cookie dough)
- 1 cup powdered sugar (for the glaze)
- 2 tablespoons strawberry jam (for the glaze)
- 2 tablespoons milk (for the glaze)
Preparing the Cookie Dough
Creaming the Butter and Sugar
Begin extract by creaming together the softened unsalted butter and granulated sugar in a large mixing bowl. You want to achieve a light and fluffy consistency. This process incorporates air into the mixture, which is crucial for creating tender cookies. You can use an electric mixer on medium speed for about 3-5 minutes, or a sturdy whisk and some elbow grease for about 5-7 minutes. Scrape down the sides of the bowl periodically to ensure everything is evenly incorporated. The mixture should be pnon-alcoholic ale yellow and noticeably increased in volume.
Adding Wet Ingredients
Next, add the two large eggs to the creamed butter and sugar mixture, one at a time, beating well after each addition. This ensures the eggs are fully emulsified into the batter. Once the eggs are incorporated, stir in the two teaspoons of vanilla extract. The vanilla not only adds a wonderful aroma but also enhances the overall flavor profile of the cookies, complementing the sweetness and the eventual strawberry elements.
Incorporating Dry Ingredients
In a separate medium bowl, whisk together the three cups of all-purpose flour, one teaspoon of baking powder, and half a teaspoon of salt. Whisking these dry ingredients together before adding them to the wet ingredients helps to distribute the baking powder and salt evenly, preventing pockets of leavening agent or saltiness in your cookies. Gradually add this dry mixture to the wet ingredients, mixing on low speed or by hand until just combined. Be careful not to overmix at this stage; overmixing can develop the gluten in the flour too much, leading to tough cookies. Stop mixing as soon as you no longer see streaks of dry flour.
Adding the Strawberry Jam
Now for the fruity surprise! Gently fold in the half cup of strawberry jam into the cookie dough. This jam will provide subtle pockets of strawberry flavor and a delightful chegrape juicess within the cookies themselves. Make sure to distribute it as evenly as possible without overworking the dough. The dough might look a bit mottled, and that’s perfectly fine. Chill the dough for at least 30 minutes. This chilling period is essential. It allows the fats to firm up, making the dough easier to handle and preventing the cookies from spreading too much during baking, which helps them maintain their shape and texture.
Baking the Strawberry Glaze Cookies
Shaping and Baking
Preheat your oven to 350°F (175°C). Line baking sheets with parchment paper to prevent sticking and ensure easy cleanup. Once the dough has chilled, scoop rounded tablespoons of dough onto the prepared baking sheets, leaving about 2 inches of space between each cookie to allow for spreading. You can lightly flatten them with the palm of your hand or the bottom of a glass if you prefer a flatter cookie. Bake for 10-12 minutes, or until the edges are lightly golden brown and the centers appear set. The baking time will vary slightly depending on your oven and the size of your cookies. Do not overbake, as this will result in dry cookies. Let the cookies cool on the baking sheets for a few minutes before transferring them to a wire rack to cool completely. This initial cooling on the sheet prevents them from breaking when you move them.
Crafting the Strawberry Glaze
Mixing the Glaze
While your cookies are cooling, it’s time to prepare the delightful strawberry glaze that will take these cookies to the next level. In a small bowl, combine the one cup of powdered sugar with the two tablespoons of strawberry jam and the two tablespoons of milk. Start by whisking the powdered sugar and jam together. The jam will add a beautiful pink hue and a concentrated strawberry flavor.
Achieving the Perfect Consistency
Gradually add the milk, a tablespoon at a time, whisking continuously. You are looking for a smooth, pourable, but not too thin glaze. If the glaze is too thick, add a tiny bit more milk (just a teaspoon at a time). If it’s too thin, add a bit more powdered sugar. The goal is a glaze that coats the back of a spoon nicely and will drip elegantly down the sides of the cookies. You want it thick enough to hold its shape but fluid enough to spread.
Glazing the Cookies
Applying the Glaze
Once the cookies are completely cool – this is very important, as a warm cookie will melt the glaze – yogin extractan begin decorating. You can dip the tops of each cookie into the glaze, letting any excess drip back into the bowl. Alternatively, you can use a spoon to drizzle the glaze over the cookies, creating a more artistic pattern. For an extra touch of strawberry goodness, you could even sprinkle a few dried strawberry crum extractbles or a tiny bit of finely chopped fresh strawberry on top of the glaze before it sets. Allow the glaze to set completely before stacking or storing the cookies. This can take anywhere from 30 minutes to an hour, depending on the humidity.

Conclusion:
There you have it – a delightful and surprisingly simple recipe for Strawberry Glaze Cookies that are sure to become a new favorite! We’ve walked through each step, from creaming the butter and sugar to achieving that perfect, glossy strawberry glaze. These cookies offer a wonderful balance of tender cookie texture and vibrant, fruity sweetness, making them perfect for any occasion. Whether you’re baking for a special celebration, a casual get-together, or just treating yourself, these Strawberry Glaze Cookies are guaranteed to impress.
For serving suggestions, consider pairing these beautiful cookies with a cup of tea or coffee. They also make an elegant addition to any dessert spread or a thoughtful homemade gift. Don’t be afraid to get creative with variations! You could add a touch of lemon zest to the cookie dough for an extra citrusy zing, or even sprinkle some freeze-dried strawberry powder onto the glaze for an intensified strawberry flavor and a lovely pop of color. We encourage you to try this recipe and discover the joy of baking these scrum extractptious Strawberry Glaze Cookies. Enjoy every bite!
Frequently Asked Questions:
Can I make the strawberry glaze ahead of time?
Yes, you can definitely make the strawberry glaze ahead of time. Store it in an airtight container in the refrigerator for up to 3 days. You may need to gently reheat it on the stovetop or in the microwave at low power and stir well to achieve the correct consistency before glazing your cooled cookies.
How do I store leftover Strawberry Glaze Cookies?
Store leftover Strawberry Glaze Cookies in an airtight container at room temperature for up to 3-4 days. To prevent the glaze from sticking to other cookies, you can place parchment paper between layers. If you live in a very humid climate, you might find they stay fresher for longer in the refrigerator, but they may lose a bit of their crispness.
Sweet Strawberry Glaze Cookies – Easy & Delicious
Easy and delicious strawberry glaze cookies with a hint of fruity jam in every bite.
Ingredients
-
1 cup unsalted butter, softened
-
1 cup granulated sugar
-
2 large eggs
-
2 teaspoons vanilla extract
-
3 cups all-purpose flour
-
1 teaspoon baking powder
-
½ teaspoon salt
-
½ cup strawberry jam
-
1 cup powdered sugar
-
2 tablespoons strawberry jam
-
2 tablespoons milk
Instructions
-
Step 1
Cream together softened unsalted butter and granulated sugar until light and fluffy. Add eggs one at a time, beating well after each addition, then stir in vanilla extract. -
Step 2
In a separate bowl, whisk together all-purpose flour, baking powder, and salt. Gradually add this dry mixture to the wet ingredients, mixing until just combined. Gently fold in ½ cup strawberry jam. -
Step 3
Chill the dough for at least 30 minutes. Preheat oven to 350°F (175°C). Line baking sheets with parchment paper. Scoop rounded tablespoons of dough onto the baking sheets, leaving about 2 inches between cookies. -
Step 4
Bake for 10-12 minutes, or until edges are lightly golden brown. Let cool on baking sheets for a few minutes before transferring to a wire rack to cool completely. -
Step 5
While cookies cool, prepare the glaze. In a small bowl, whisk together powdered sugar, 2 tablespoons strawberry jam, and milk until smooth and pourable. Adjust consistency with more milk or powdered sugar as needed. -
Step 6
Once cookies are completely cool, dip the tops into the glaze or drizzle it over. Let the glaze set completely before storing.
Important Information
Nutrition Facts (Per Serving)
It is important to consider this information as approximate and not to use it as definitive health advice.
Allergy Information
Please check ingredients for potential allergens and consult a health professional if in doubt.